


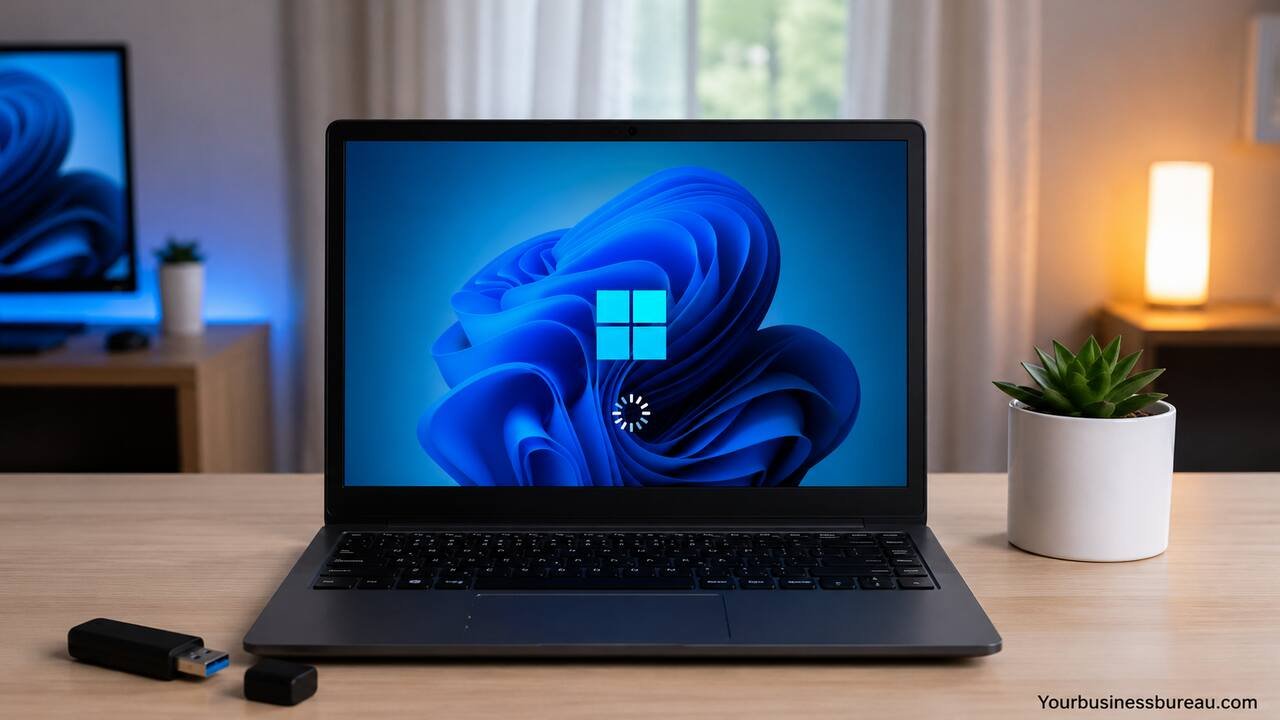
Downloading Windows 11 is the first step toward upgrading a computer with modern security, improved productivity tools, and a redesigned interface from Microsoft. Many users want to install the operating system on a new laptop, upgrade from Windows 10, or create bootable installation media for a clean setup. The process is straightforward when you use the correct tools and verify that your hardware meets the minimum system requirements.
A successful installation depends on several factors, including internet connectivity, available storage space, firmware settings, and processor compatibility. Devices that support Secure Boot and TPM 2.0 generally handle the installation smoothly. This guide explains every major step, from checking compatibility and downloading the ISO file to creating installation media and activating the operating system after setup.
Check System Requirements Before Downloading Windows 11
Before downloading the operating system, confirm that the computer can run Windows 11 properly. Microsoft requires specific hardware features to improve security, system stability, and performance. A compatible processor, at least 4 GB of RAM, and 64 GB of storage are mandatory for installation.
The system also needs TPM 2.0, Secure Boot capability, and a compatible graphics adapter that supports DirectX 12. Most modern desktops and laptops manufactured after 2018 already meet these conditions. You can verify compatibility using the PC Health Check application provided by Microsoft.
The table below summarizes the core hardware requirements.
| Component | Minimum Requirement |
| Processor | 1 GHz or faster with 2+ cores |
| RAM | 4 GB |
| Storage | 64 GB |
| Firmware | UEFI with Secure Boot |
| TPM | TPM version 2.0 |
| Graphics | DirectX 12 compatible |
| Display | HD display larger than 9 inches |
| Internet | Required for setup and updates |
Older systems may fail compatibility checks because of unsupported CPUs or disabled firmware settings. In many cases, enabling TPM and Secure Boot in BIOS resolves the issue without requiring hardware replacement.
Download Windows 11 From the Official Microsoft Website

The safest way to obtain Windows 11 is through the official Microsoft download portal. Avoid unofficial ISO files because modified installation images may contain malware, corrupted system files, or activation bypass tools that compromise security.
Visit the official Microsoft software download page and choose one of the available options. The Installation Assistant is suitable for direct upgrades, while the Media Creation Tool helps create bootable USB drives. Advanced users often prefer the ISO file because it supports virtual machines and manual installations.
The following download methods are commonly available:
| Download Option | Best Use Case |
| Installation Assistant | Upgrade current Windows 10 PC |
| Media Creation Tool | Create bootable USB installer |
| ISO File | Clean installation or VM setup |
Using the official source ensures that the operating system receives valid updates, security patches, and activation support. It also reduces installation failures caused by corrupted files or outdated builds.
Prepare Storage Space and Backup Important Files
Before beginning installation, clean the storage drive and create backups for important documents. Operating system upgrades modify system partitions, update boot configurations, and replace core Windows files. Unexpected interruptions can result in data loss if backups are not prepared in advance.
Users upgrading from Windows 10 should ideally maintain at least 20 GB of free space, although more storage improves installation reliability. Temporary files, old update packages, and unused applications can be removed using Disk Cleanup or Storage Sense.
External hard drives and cloud services provide reliable backup options. Many users copy personal folders such as Documents, Pictures, Downloads, and Desktop data before proceeding. Browser bookmarks, saved passwords, and software license keys should also be preserved.
Stable internet access and uninterrupted power are equally important during installation. Laptop users should keep chargers connected throughout the process to prevent shutdowns during firmware or update stages.
Use the Windows 11 Installation Assistant for Upgrades
The Installation Assistant provides the simplest upgrade path for eligible systems currently running Windows 10. This utility automates compatibility checks, downloads installation files, and performs the upgrade while preserving personal data and applications.
After downloading the assistant from Microsoft, launch the executable file and accept the license agreement. The software validates processor support, storage space, TPM status, and Secure Boot settings before beginning the download.
The upgrade process occurs in several phases:
- Compatibility verification
- Downloading installation files
- Preparing update components
- Restarting the computer
- Completing installation and migration
The installation duration depends on SSD speed, processor performance, and internet bandwidth. Systems with NVMe SSD storage typically complete upgrades significantly faster than older HDD-based computers.
Once installation finishes, the computer boots into the redesigned Windows 11 interface featuring a centered taskbar, updated Start menu, improved window snapping, and enhanced security integration.
Create a Bootable USB Drive With the Media Creation Tool
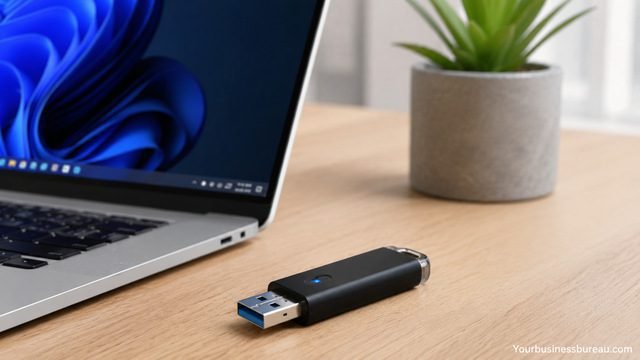
A bootable USB installer is useful for clean installations, troubleshooting corrupted systems, and installing Windows 11 on multiple computers. The Media Creation Tool automates USB formatting and installation file preparation.
Use a USB drive with at least 8 GB of storage capacity. Existing files on the drive will be erased during formatting, so move important data elsewhere before continuing.
After launching the Media Creation Tool, select “Create installation media for another PC.” Then choose the preferred language, edition, and system architecture. Most modern systems use the 64-bit version.
The process typically includes these steps:
| Step | Action |
| 1 | Connect USB drive |
| 2 | Launch Media Creation Tool |
| 3 | Select installation media option |
| 4 | Choose USB flash drive |
| 5 | Download Windows 11 files |
| 6 | Create bootable installer |
The tool downloads the latest stable release directly from Microsoft servers. Internet speed affects completion time because installation packages often exceed several gigabytes.
A bootable USB drive also becomes useful for recovery scenarios when Windows fails to start normally.
Download the Windows 11 ISO File for Manual Installation
The ISO version of Windows 11 is ideal for advanced deployment methods. Many IT professionals and power users prefer ISO files because they support virtual machines, offline installations, and custom deployment environments.
After selecting the ISO option from Microsoft’s download page, choose the preferred language and confirm the download. The resulting file may exceed 5 GB depending on the version.
ISO files can be used in several ways:
- Mount directly inside Windows for upgrades
- Burn to DVD media
- Create bootable USB drives with tools like Rufus
- Deploy inside virtualization platforms
Popular virtualization platforms include Oracle VM VirtualBox and VMware Workstation. Virtual environments help users test applications and settings without affecting the primary operating system.
Always verify that the ISO file completes downloading successfully. Interrupted or corrupted downloads often cause installation failures, missing files, or setup crashes during installation.
Configure BIOS Settings for Windows 11 Installation
Some systems require BIOS or UEFI adjustments before installation succeeds. Firmware settings control hardware initialization, Secure Boot status, and TPM functionality.
Restart the computer and enter BIOS using keys such as F2, Delete, ESC, or F10 depending on the motherboard manufacturer. Locate the security or boot configuration section and verify that TPM 2.0 and Secure Boot are enabled.
Systems using legacy BIOS mode may require conversion to UEFI mode before installation. GPT partition formatting is also commonly necessary for modern Windows deployments.
Motherboard manufacturers such as ASUS, MSI, and Gigabyte provide different BIOS interfaces, so menu names vary slightly across devices.
Incorrect firmware settings may trigger installation errors like:
- “This PC can’t run Windows 11”
- TPM not detected
- Secure Boot unsupported
- Unsupported boot mode
Saving correct firmware settings before restarting usually resolves these issues immediately.
Install Windows 11 Using a Bootable USB Device
After creating installation media, insert the USB drive and restart the computer. Open the boot menu using the appropriate keyboard shortcut, then select the USB device as the temporary boot source.
The Windows Setup environment loads automatically and displays language, keyboard, and region options. After confirming preferences, select “Install Now” to begin.
Users can choose between two installation types:
| Installation Type | Purpose |
| Upgrade | Keeps files and applications |
| Custom | Performs clean installation |
A clean installation removes previous operating system files and creates a fresh Windows environment. Many users prefer this method because it improves performance and eliminates old software conflicts.
During setup, Windows copies installation files, installs features, applies updates, and configures user settings. The computer restarts multiple times during the process.
Once installation finishes, users complete initial configuration steps including Wi-Fi setup, Microsoft account login, privacy settings, and device naming.
Activate Windows 11 After Installation
Activation confirms that the operating system uses a valid software license. Many systems upgrading from activated Windows 10 activate automatically after connecting to the internet.
Users installing on new hardware may need a product key. Retail licenses, OEM licenses, and digital licenses all function differently depending on purchase method and hardware association.
You can check activation status by navigating to:
Settings → System → Activation
Common activation states include:
- Activated with digital license
- Activated with Microsoft account
- Product key required
- Activation pending internet connection
Linking the license to a Microsoft account simplifies future hardware upgrades and reinstallation scenarios. Enterprise deployments may instead use volume licensing or organizational activation servers.
Avoid unauthorized activation tools because they often disable updates, introduce malware, or violate software licensing agreements.
Install Drivers and Updates After Downloading Windows 11
After installation, immediately install the latest updates and hardware drivers. Updated drivers improve graphics performance, Wi-Fi stability, audio functionality, and system security.
Windows Update automatically installs many drivers, but gaming systems and workstations often benefit from manufacturer-specific packages. Graphics card vendors regularly release performance updates optimized for modern applications and games.
Common hardware manufacturers include:
- NVIDIA
- AMD
- Intel
Driver update utilities from laptop manufacturers may also install firmware updates, battery optimizations, and thermal management improvements.
Security updates should never be postponed for long periods. Windows 11 receives cumulative patches that address vulnerabilities, compatibility problems, and stability issues discovered after release.
Restart the system after completing major updates to ensure all changes apply correctly.
Optimize Windows 11 Settings After Installation
Fine-tuning system settings improves productivity and performance after installation. Many users customize privacy options, startup applications, visual effects, and power management settings immediately after setup.
The Settings application provides centralized access to personalization features, accessibility tools, and update management. The redesigned interface simplifies navigation compared to older Windows versions.
Recommended optimization tasks include:
- Enable Storage Sense
- Disable unnecessary startup apps
- Configure Windows Security
- Install preferred browser and applications
- Customize taskbar and Start menu
- Adjust power mode settings
Gaming systems may benefit from enabling Game Mode and hardware-accelerated GPU scheduling. Productivity users often configure virtual desktops, snapping layouts, and OneDrive synchronization.
Performance differences become especially noticeable on lower-end hardware where startup optimization and storage management reduce background resource usage.
Troubleshoot Common Windows 11 Download and Installation Problems
Installation failures usually result from compatibility conflicts, insufficient storage, corrupted installation media, or outdated firmware settings. Identifying the exact error message helps narrow the solution quickly.
Common problems include slow downloads, boot failures, update loops, and TPM detection issues. Restarting the system and recreating installation media often resolves corrupted setup files.
The table below outlines several common errors and solutions.
| Problem | Possible Solution |
| TPM not found | Enable TPM in BIOS |
| Secure Boot unsupported | Switch to UEFI mode |
| Installation freezes | Recreate USB installer |
| Low storage error | Free additional disk space |
| Driver issues | Install latest manufacturer drivers |
| Activation failed | Verify product key or internet |
Disconnecting unnecessary peripherals during installation can also improve stability. External drives, printers, and older USB accessories occasionally interfere with setup procedures.
If installation repeatedly fails, updating motherboard firmware or resetting BIOS settings to default may solve deeper compatibility problems.
Conclusion
Downloading Windows 11 becomes much easier when you follow the correct installation process and prepare the system in advance. Checking compatibility, enabling TPM and Secure Boot, backing up files, and using official Microsoft tools significantly reduce installation problems.
Whether you upgrade directly using the Installation Assistant, create a bootable USB drive, or install from an ISO file, each method provides a reliable path to the latest Microsoft operating system. After installation, updating drivers, activating Windows, and optimizing settings help ensure long-term performance, security, and stability.
Using official installation sources and maintaining updated firmware protects both system integrity and user data while delivering the full benefits of Windows 11’s modern interface and security architecture.
If you want to explore how we help businesses grow from the ground up, you can visit yourbusinessbureau.com to see what we offer.
FAQ’s
Yes. Users with a genuine activated copy of Windows 10 can usually upgrade to Windows 11 at no additional cost if the hardware meets compatibility requirements.
The installation files generally require more than 5 GB of download data. Additional storage space is needed during setup for temporary installation files and updates.
Officially, TPM 2.0 is required. Some unofficial workarounds exist, but unsupported installations may experience reduced compatibility, missing updates, or security limitations.
The Installation Assistant is easier for upgrades on existing systems. ISO files provide more flexibility for clean installations, virtual machines, and offline deployment.
Most installations finish within 30 minutes to 2 hours depending on SSD speed, internet connection, hardware performance, and update requirements.
Most editions encourage Microsoft account login during setup, especially on internet-connected systems. However, some installation methods and enterprise deployments support local accounts.


